Most homeowners go through demolition once in their lifetime. The actual machine-on-site phase is the visible part, but it is also the smallest part of the project. From the first phone call to the final handover, expect somewhere between six weeks and three months — and the homeowner has work to do at every stage. Here's the order it actually happens.
Stage 1 — Initial enquiry and site walk (week 1)
You call or email a few demolition contractors. The good ones come out within a few days to walk the property. They want to see the building, the access, the side passage, the neighbours, the trees, and the contents (if you haven't moved out yet). They will ask you about timing, builder coordination, and any council overlays.
By the end of the site walk, the contractor should be able to give you a verbal price range and a written quote within a few days. Twelve things they should be checking.
Stage 2 — Quote, contract, and deposit (weeks 1–3)
You receive the written quote. You compare it against one or two others. You ask questions about line items. You may need an asbestos sampling survey done before pricing locks in (a few hundred dollars, takes a few days). Once you've chosen, you sign the contract and pay a deposit — typically 10% on signing.
This is also when you commit to your builder's slab pour date if it's a knockdown rebuild, working backwards from the demolition completion date.
Stage 3 — Permits and pre-demolition (weeks 3–6)
Now the paperwork. Depending on the property, this can include:
- Building permit for demolition (issued by a private building surveyor)
- Planning permit if heritage overlay or other planning trigger applies
- Asset protection bond with the local council
- Asbestos notification to WorkSafe Victoria where applicable
- Service disconnections — gas, water, electricity, sewer, NBN (each separately)
The contractor handles most of these. The homeowner is usually responsible for service disconnections, though a good contractor will give you a checklist with the right contacts and lead times. Full permit guide here.
This stage is the longest and most variable. Permits typically take 2–4 weeks. Service disconnections can take longer if the gas abolishment is complex. A homeowner's pre-demolition checklist.
Stage 4 — Site setup (start of week on site)
The day before machines arrive, the contractor sets up:
- Perimeter fencing (temporary mesh, usually 1.8m)
- Tree protection zones if applicable
- Hoarding for inner-city or high-traffic sites
- Dust suppression equipment (water trucks or sprays)
- Site signage with permit details and emergency contacts
- Service capping confirmation (no live gas or power)
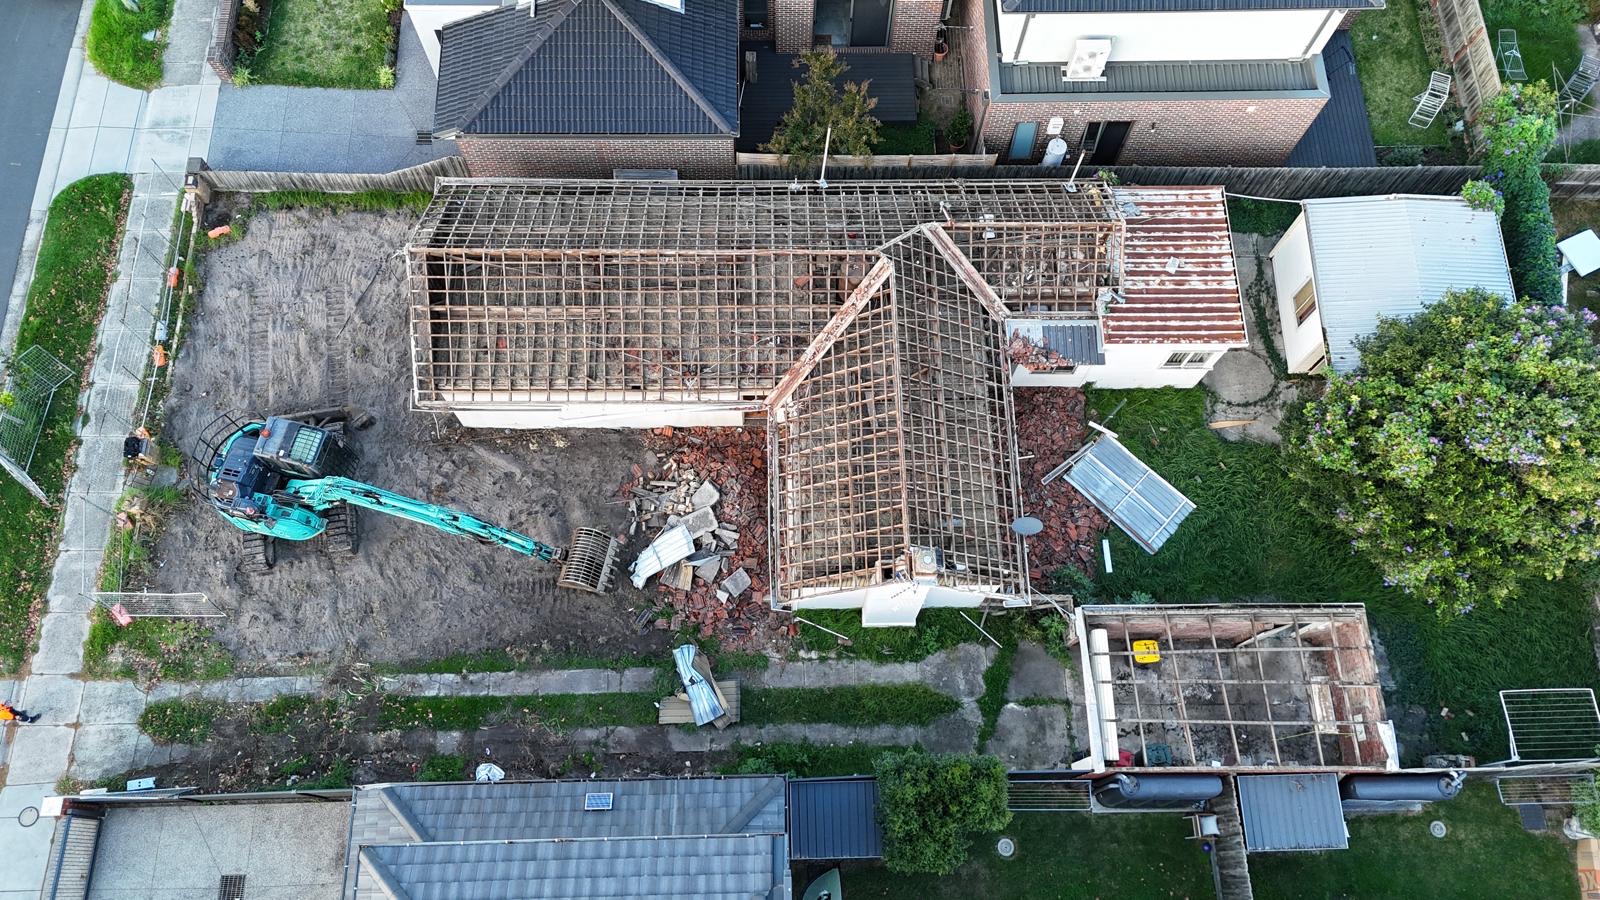
Stage 5 — Soft strip (days 1–2 of on-site work)
Before any machine touches the structure, the soft strip happens. This is the manual removal of:
- Asbestos-containing material (bonded sheeting, vinyl floors, eaves) by licensed removalists in a contained zone
- Insulation, including rockwool or ceiling batts
- White goods, cabinetry, fixtures still inside
- Anything separable for recycling — copper pipes, electrical cables, scrap metal
For an asbestos-heavy property, soft strip alone can take a week. It must be signed off by a licensed assessor before the demolition machine starts.
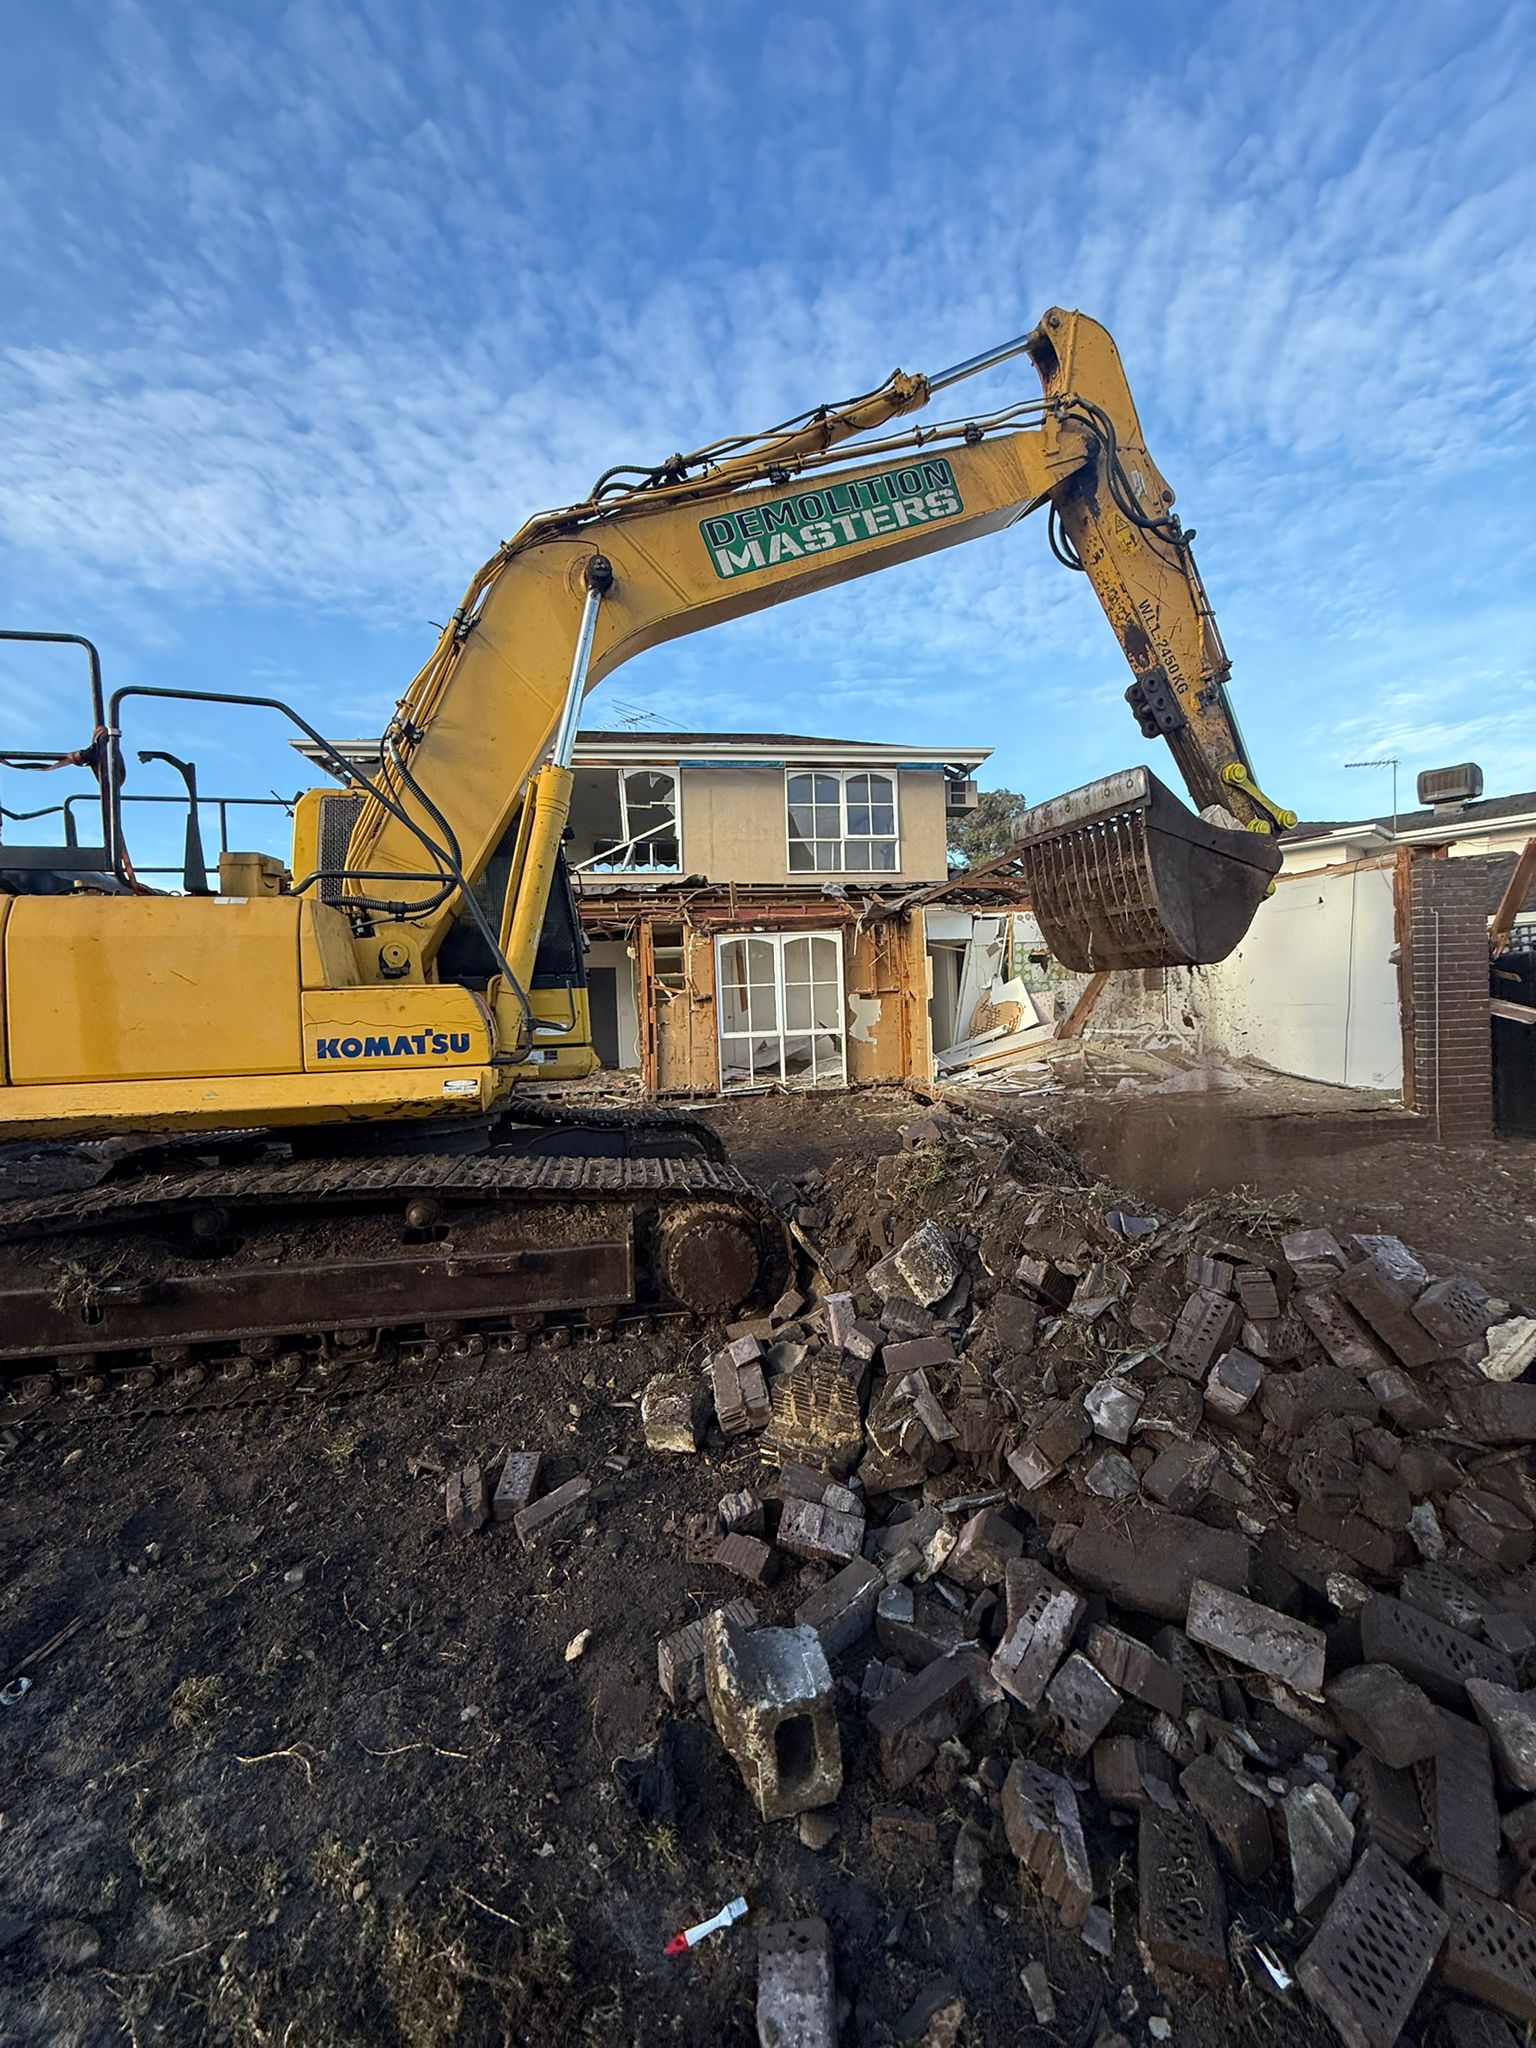
Stage 6 — Structural demolition (days 2–7 typically)
This is the visible part — the excavator with the demolition attachment moves through the building methodically. Roof first (sheeting recycled, framing taken down), upper levels next, ground floor last, then footings and slab. Trucks rotate to remove material throughout. A water truck or spray runs continuously to suppress dust.
For a standard suburban single-storey, this phase is 2–4 working days. Double-storey brick is 4–7 days. Heritage retention adds time because the work is more careful. Detailed timing breakdown.
Stage 7 — Slab and footings removal
If the home had a concrete slab, breaking it up and removing it usually takes another 1–2 days. Footings are exposed, broken, and removed. Old plumbing trenches are cleared.
This stage matters more than people realise: a builder's slab cannot pour over old footings or buried debris, so this phase determines whether the next builder can start work immediately.
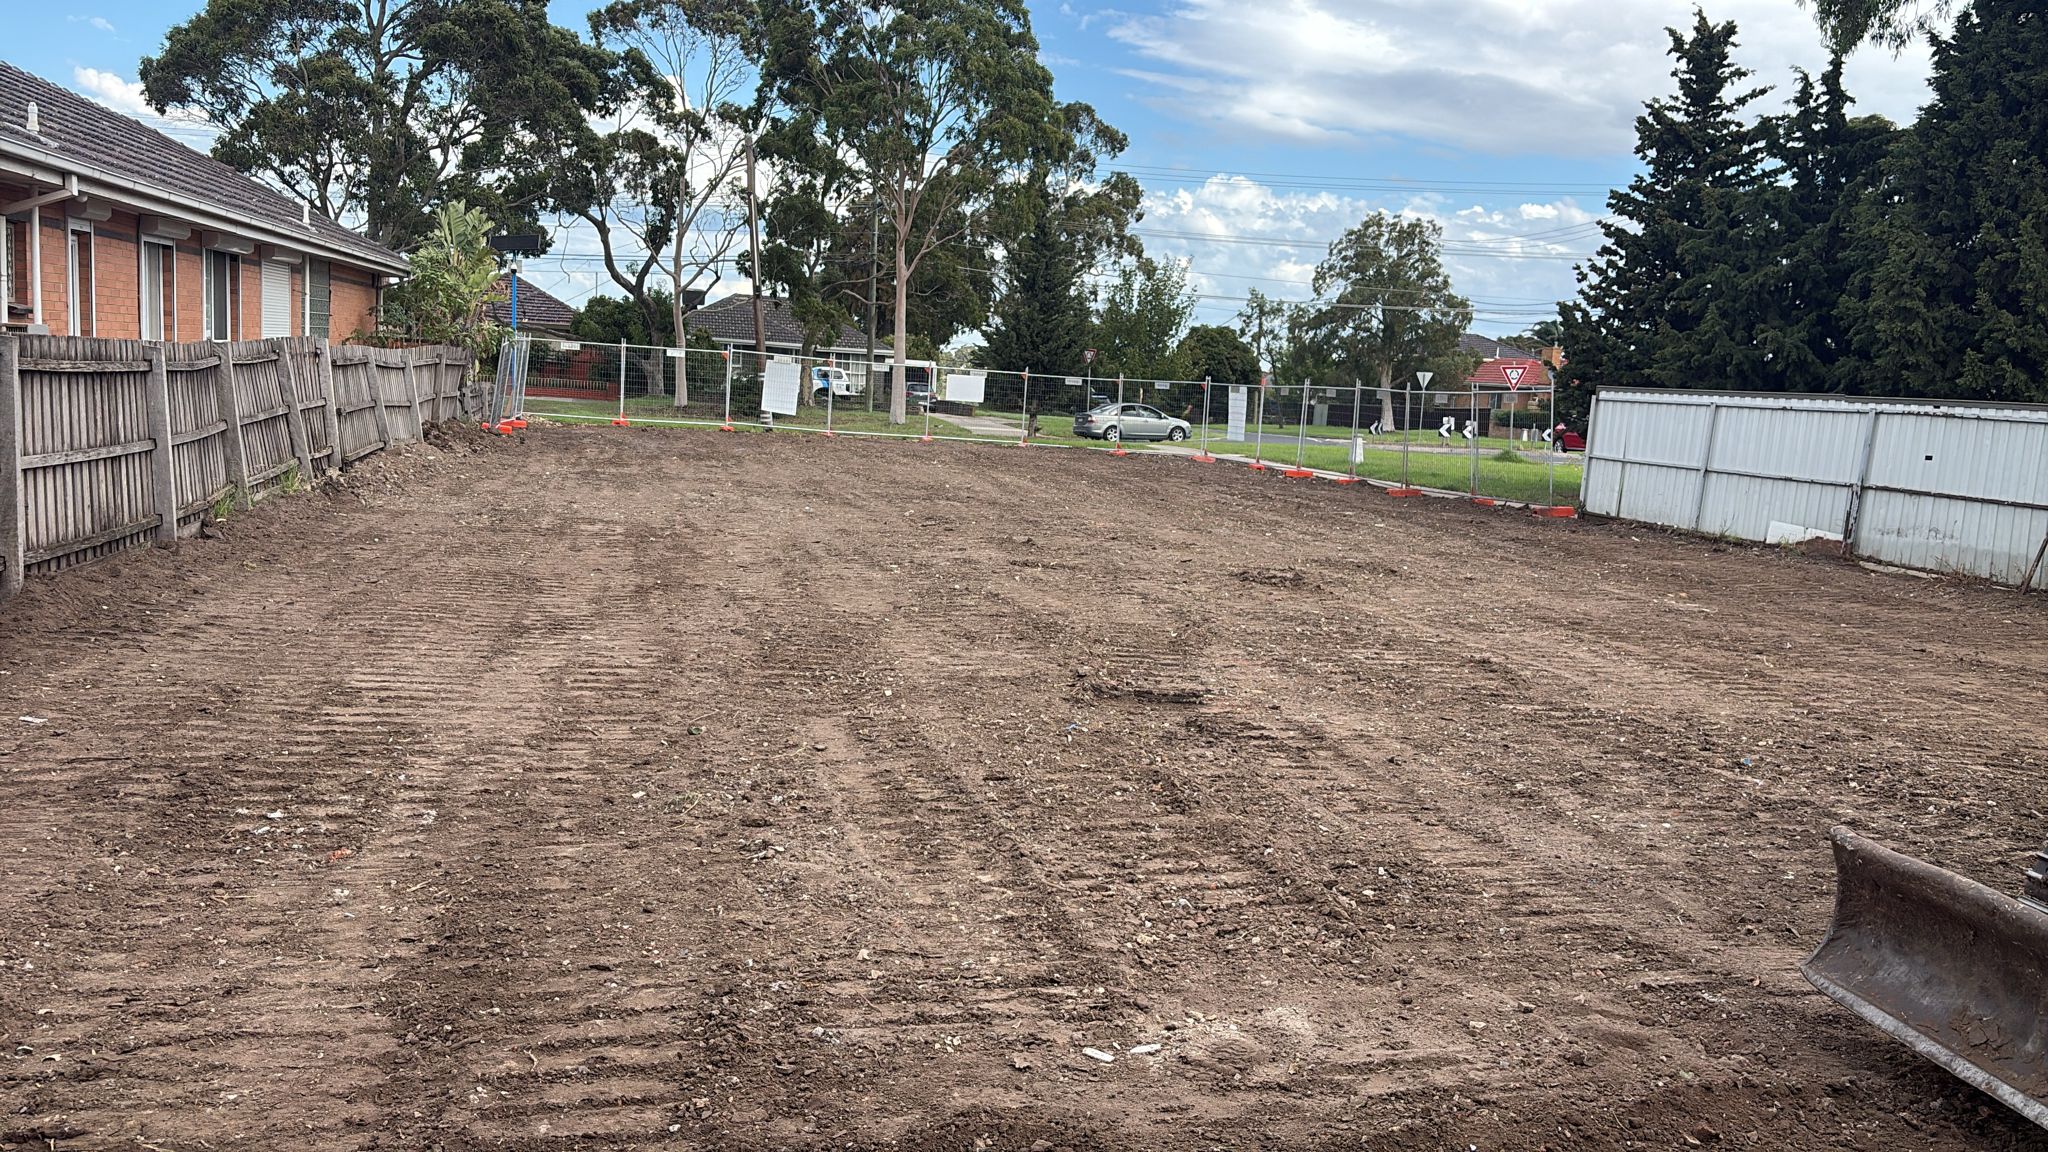
Stage 8 — Site clearance and handover (final 1–2 days)
Once the demolition is complete, the site is:
- Levelled to the agreed condition (typically engineer's spec for a slab pour)
- All debris removed
- Services confirmed capped at the right boundary
- Final asbestos clearance certificate issued
- Council inspection if required for bond return
- Site fencing removed (or kept up for builder if requested)
The homeowner walks the site with the contractor, signs the handover form, and the final invoice is issued. What "rebuild-ready" should look like at this point.
From signed contract to handover: typically 6–10 weeks for a standard suburban Melbourne demolition. Add 2–3 weeks for heritage, asbestos-heavy properties, or tight inner-city sites. Add another 2–4 weeks if there's a planning permit involved.
What the homeowner does at each stage
| Stage | Homeowner's job |
|---|---|
| 1. Enquiry | Get 2–3 contractors out, walk the site with each |
| 2. Quote | Compare line by line, get the asbestos survey done |
| 3. Permits | Arrange service disconnections, sign permit applications |
| 4. Site setup | Be off-site, valuables removed, neighbours notified |
| 5–7. Demo | Stay clear of the active site, available by phone |
| 8. Handover | Walk the site, confirm condition, sign handover form |
What goes wrong if you skip steps
The most common reasons projects run late:
- Service disconnections weren't arranged early enough — gas in particular has long lead times
- Asbestos was uncovered mid-demolition, requiring a stop and re-quote
- Asset protection bond wasn't lodged in time
- Neighbour disputes triggered a stop-work
- Builder slab schedule changed and demolition wasn't given enough buffer
The contractor's job is to manage all of this for you. The homeowner's job is to be reachable and prompt with the items that need their personal sign-off.